Remote agent fails to start after metadata import
Originally Published: 2015-02-25
Article Number
Applies To
Issue
Trying to import the agent metadata again, we see the following error in UI:
ExportedAgent: error
com.aveksa.server.agent.AgentServiceException: Agent has pending changes. Cannt be modified at this time
Trying to edit the Agent, we get the following error:
Error editing the Agent:
Agent has pending changes. Cannt be modified at this time
Investigating aveksaServer.log we see the "Agent certificate does not have expected DN." error:
01/28/2015 14:26:53.265 ERROR (http-0.0.0.0-8444-7) [com.aveksa.server.agent.message.ExceptionMessage]
com.aveksa.server.agent.message.ConnectionException: Agent certificate does not have expected DN.
Received: CN=Remote_Agent-1561976041, OU=Aveksa, O=Aveksa, L=Waltham, ST=Massachusetts, C=US.
Expected: CN=Remote_Agent-1316477241, OU=Aveksa, O=Aveksa, L=Waltham, ST=Massachusetts, C=US
Resolution
Here is how we do it on a Linux machine:
STEP 1. In the UI, go to Collectors > Agents
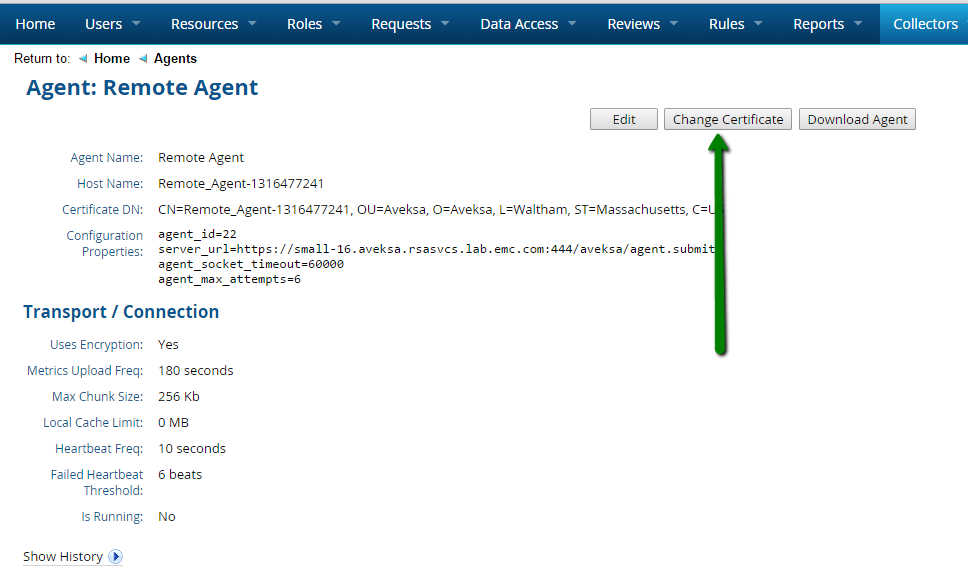
STEP 2. For each remote agent (not the default local AveksaAgent), click on the agent name.
Click the Change Certificate button. This action generates a new client certificate based off the new server certificate and ensures the client certificate stored in the database matches the server certificate stored in the database.
STEP 3. You will get a dialog warning message. Click OK to change the client certificate
STEP 4. Click Download Agent to download a new agent with the new certificate in a zip file called AveksaAgent.zip.
STEP 5. Go to the location on the remote server that has the remote agent.
STEP 6. Stop the agent by running agent_stop.sh in the bin directory or service aveksa_agent stop if you installed aveksa_agent as a service. You need to login as unprivileged account you created for the agent to run (agent account for example).
$ cd path-to-AveksaAgent/bin
$ ./agent_stop.sh
or
$ service aveksa_agent stop
STEP 7. Backup the agent directory
$ cd path-to-AveksaAgent
$ mv <agent-directory> <agent-directory-bak>
STEP 8. Unzip the agent on the remote server where it runs (replacing the old one) and set 755 permissions on the /bin folder
$ cd path-to-AveksaAgent
$ unzip AveksaAgent.zip
$ chmod 755 bin/*
STEP 9. Start the agent by running agent_start.sh in the bin directory or service aveksa_agent start if you installed aveksa_agent as a service.
$ cd path-to-AveksaAgent/bin
$ ./agent_start.sh
or
$ service aveksa_agent start


