Jamf Pro - SAML Relying Party Configuration - RSA Ready Implementation Guide
Originally Published: 2021-08-27
This article describes how to integrate RSA with Jamf Pro using SAML Relying Party.
Configure RSA Cloud Authentication Service
Perform these steps to configure RSA Cloud Authentication Service as Relying Party to Jamf Pro.
Procedure
- Sign in to RSA Cloud Administration Console.
- Click Authentication Clients > Relying Parties.
- On the Relying Party Catalog page, click Add a Relying Party and click Add for Service Provider SAML.
- On the Basic Information page, enter the name for the application in the Name field and click Next Step.
- On the Authentication page, choose SecurID manages all authentication.
- Select a Primary Authentication Method and Access Policy as required and click Next Step.
- Provide the Service Provider details in the following format:
- ACS URL: https://<JAMF_PRO_URL>.jamfcloud.com/saml/SSO
- Service Provider Entity ID: https://< JAMF_PRO_URL>.jamfcloud.com/saml/metadata.
Refer to the Configure Jamf Pro section to obtain JAMF_PRO_URL.
- In the SAML Response Protection section, choose IdP signs assertion within response.
- Download the certificate by clicking Download Certificate.
- Click Show Advanced Configuration.
- Under the User Identity section, configure Identifier Type and Property. For example, Identifier Type: Auto Detect and Property: Auto Detect.
- Under the Attribute Extension section, provide the Attribute Name as http://schemas.xmlsoap.org/claims/Group and map the Property as virtualGroups (the values of virtualGroups must be configured as groups in Jamf Pro).
- Click Save and Finish.
- On the My Relying Parties page, click the Edit drop-down icon and select the Metadata option to download the metadata.
- Click Publish Changes. Your application is now enabled for SSO.
Notes
Example for Mapping Groups.
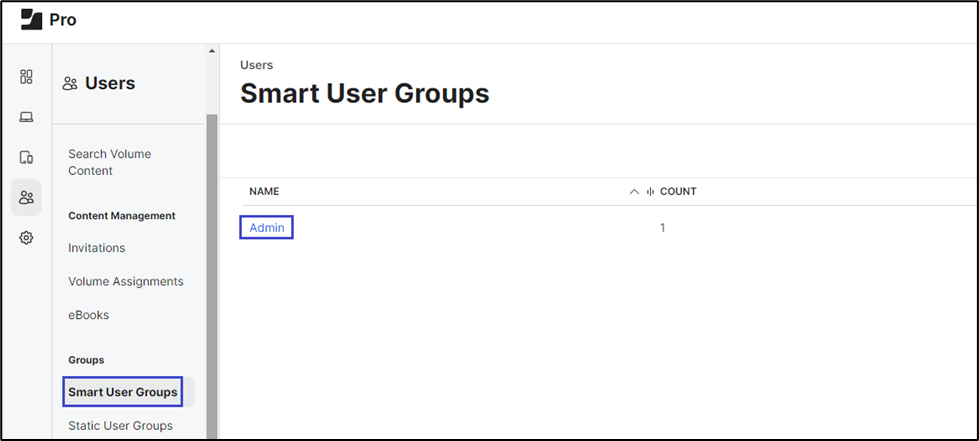
In the Jamf Pro application, under the Users section, select Smart User Groups and create a group by providing group name and permissions.
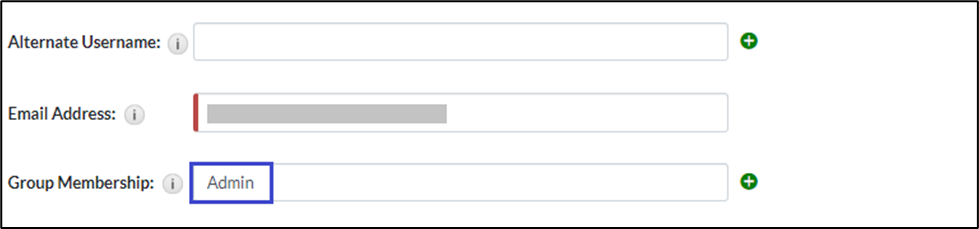
In RSA, under the Management section for the user, add the same group name in the Group Membership field that you have created in the Jamf Pro application.
In the Jamf Pro application, under the Users section, select Smart User Groups and create a group by providing group name and permissions.
In RSA, under the Management section for the user, add the same group name in the Group Membership field that you have created in the Jamf Pro application.
Configure Jamf Pro
Perform these steps to configure Jamf Pro.
Procedure
Procedure
- Log on to Jamf Pro with administrator credentials.
- Navigate to Settings and select Single sign-on.
- Click the Single Sign-On Authentication toggle button.
- Scroll down to the Identity Provider section, select the Other option from the drop-down menu and provide a Name for the provider.
- Do the following:
- Copy the Entity ID that contains JAMF_PRO_URL, which can be used to construct ACS URL.
- Select the Metadata File option and upload the metadata downloaded from RSA.
- Scroll down to the User Mapping section and do the following:
- Select NameID under Identity Provider User Mapping.
- Select Email under Jamf Pro User Mapping.
- Copy the Identity Provider Group Attribute Name that is used for configuring User Attributes in RSA.
- Click Save.
The configuration is complete.
Return to Jamf - SAML Relying Party Configuration - SecurID Access Implementation Guide.
Return to Jamf - SAML Relying Party Configuration - SecurID Access Implementation Guide.


